Skip to content
Discount Up to 50% on Tile Clearance
(02) 9748 0885
info@royaltiles.com.au
Royaltiles
Tiles
Primary Menu
Products
Project Gallery
Contact
Clearance
Search for:
Search Button
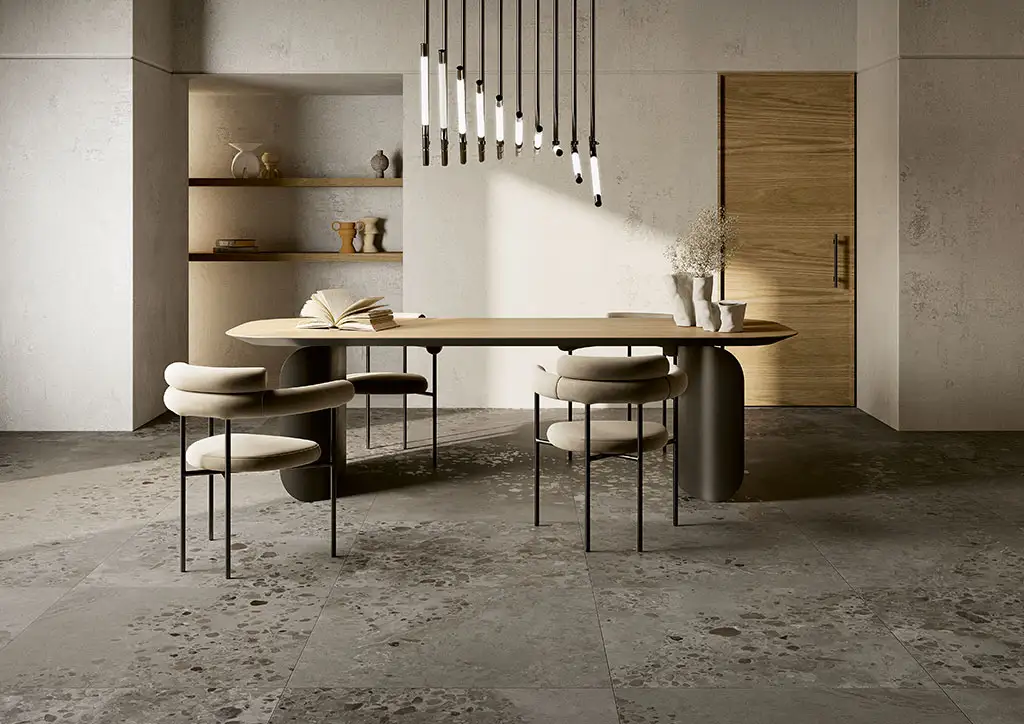
Floor Tiles
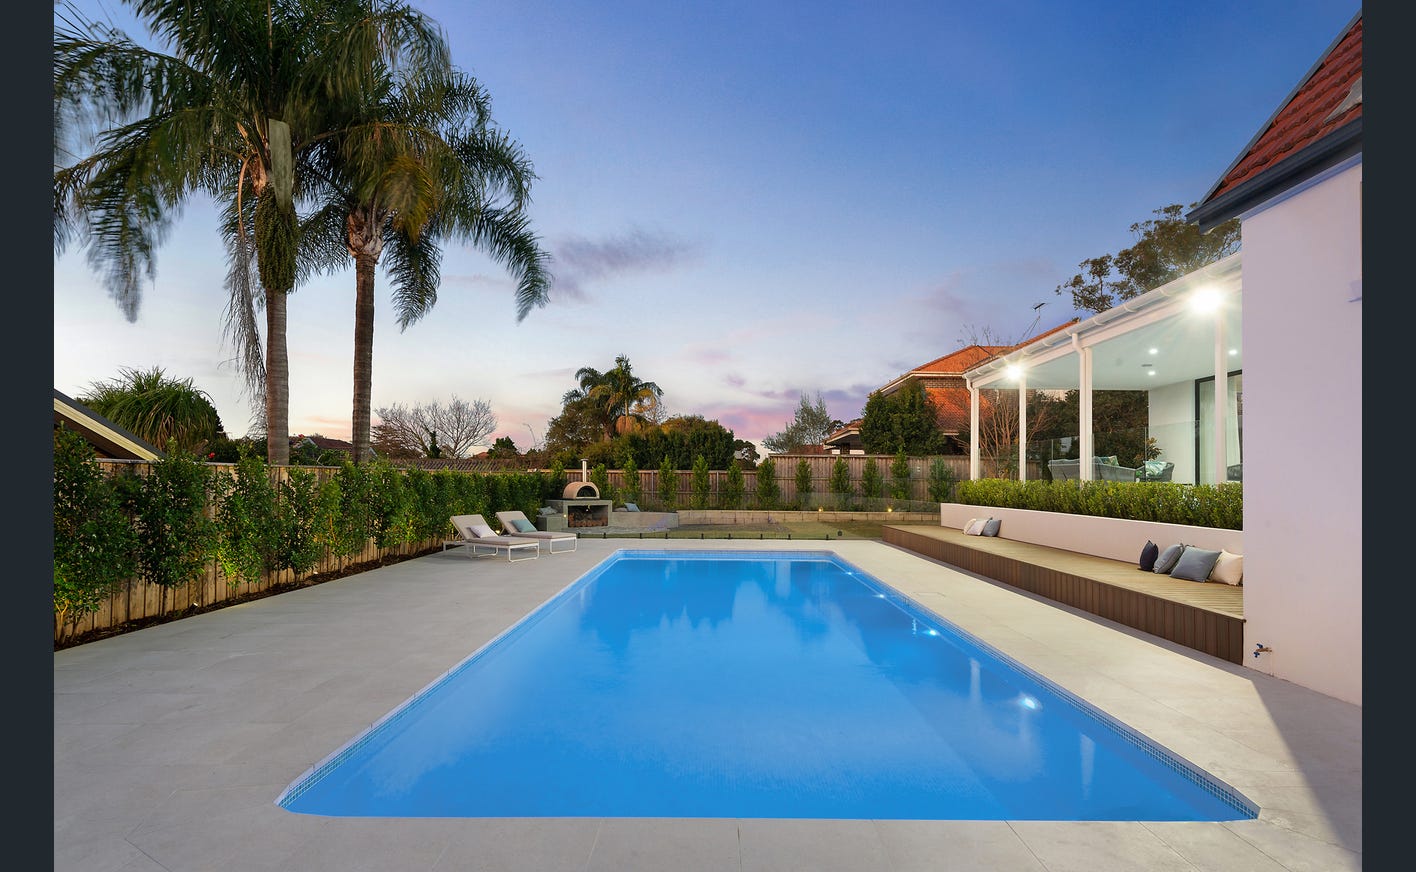
Outdoor Tiles
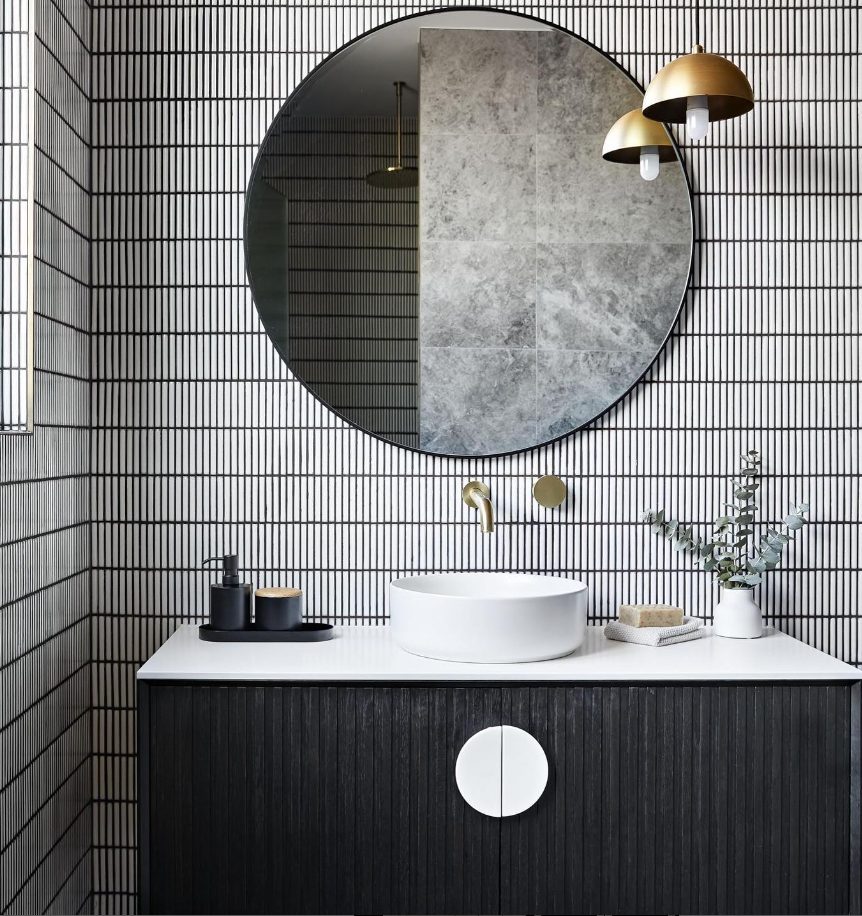
Bathroom Tiles
Primary Menu
Products
Project Gallery
Contact
Clearance